
Paragon Automation - Deploy L3VPN
Overview
Paragon Automation is a Network automation platform and simplifies adoption of Network automation for device , network and service life cycles . The idea of Paragon is to eliminate repetitive tasks , improve operation efficiency.
This is a hands-on lab for Paragon Automation use cases Device LCM and Observability, L3VPN Orchestration, PAA, complex config templates .
This lab is based on Paragon Automation 2.0 features and the objective is to get hands on experience on these use cases . The platform will be preinstalled and preconfigured to start with specific use cases. We will be using vMX devices along with PA2.0
Starting Lab
This lab allows for 16ppl (4ppl per sandbox) to take this lab persession.
If you would like to do this lab raise your hand to get Lab User information.
Lab Blueprint Topology
The blueprint consists of four sets of vMX devices with traffic agents (TA’s), SET A, B, C and D. Also, a standalone shared ACX7100. Please note that you must choose the right SET of devices allocated to you.
We also have a Paragon Automation 2.0 on-prem instance installed with all device sets on-boarded.

Connect to Jumpbox
Using RDP Client, connect to your Labuser assigned IP address/Port
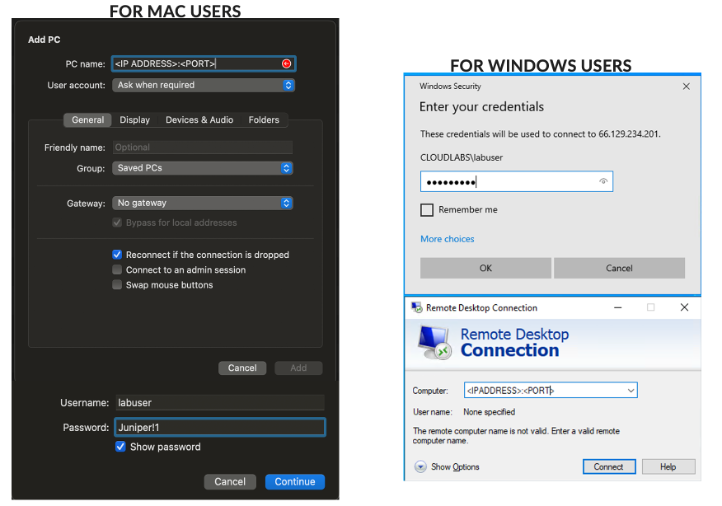
Login using your Lab User credentials
L3VPN Service Orchestration
The objective is to demonstrate Service Orchestration
Login to Paragon Automation GUI
Orchestrate the L3VPN service
Observe workflows
Login to Paragon
Open Chrome, and navigate to https://100.123.42.100, you shoud see the login page to Paragon Automation UI
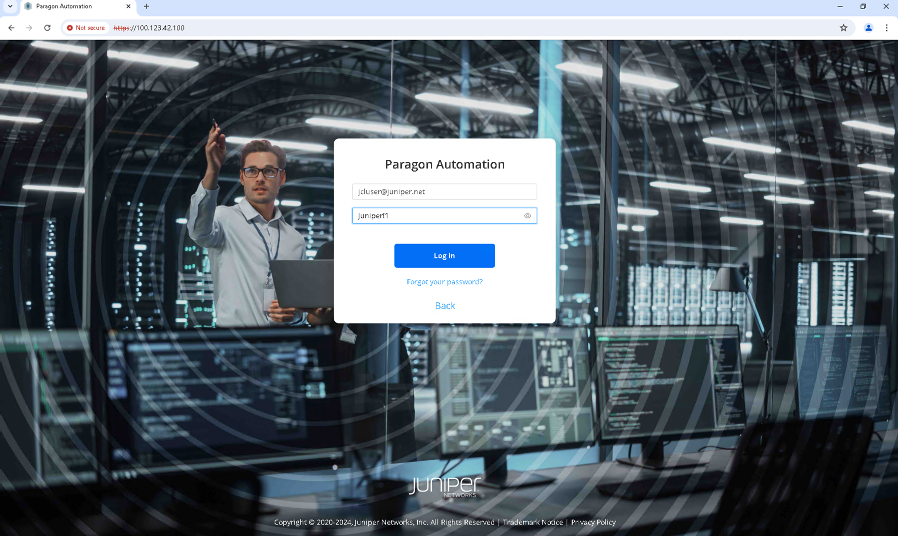
Login using your Lab User credentials
Orchestrate L3VPN Service
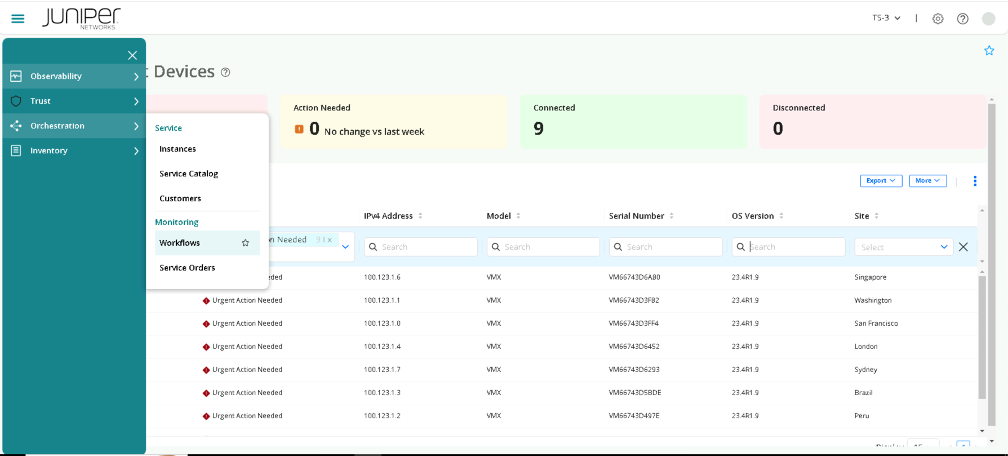
Click on Orchestration > Instancesclick on Create L3VPN.
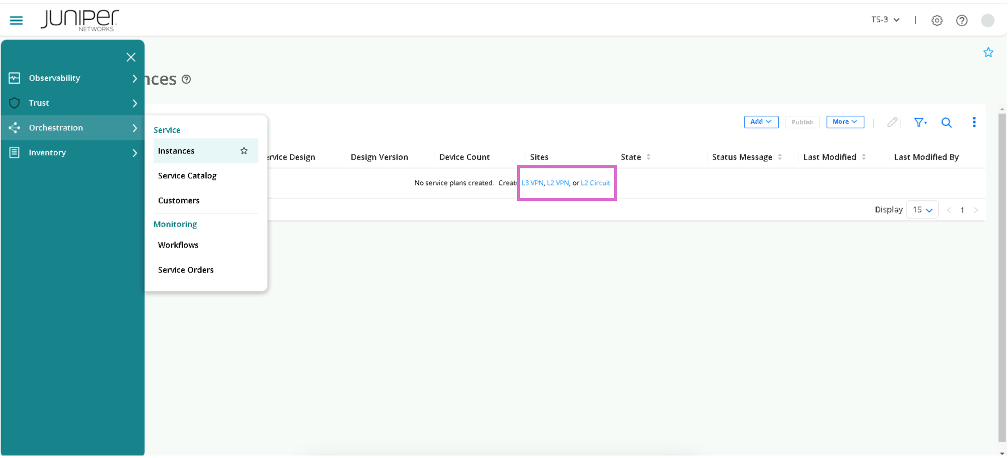
Click on Create L3VPN.
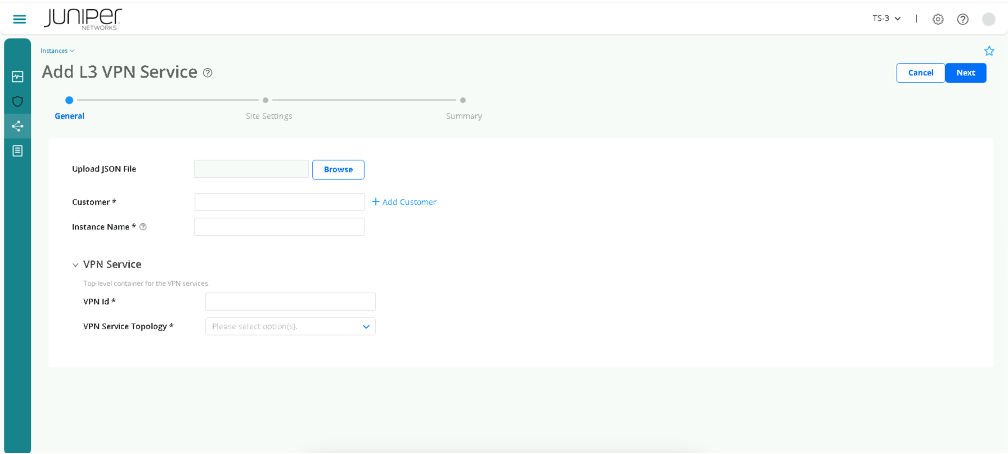
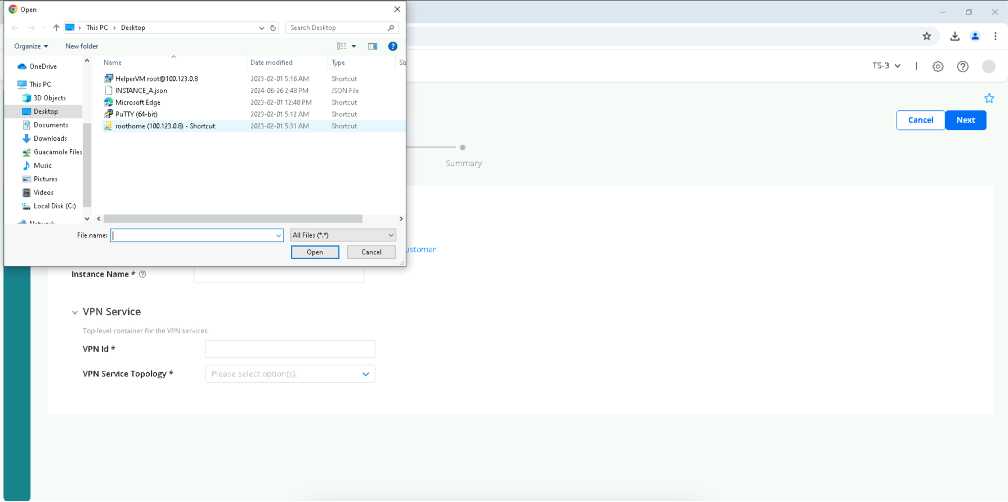
On Upload JSON File click Browse, and select the JSON file for your Lab User Set.
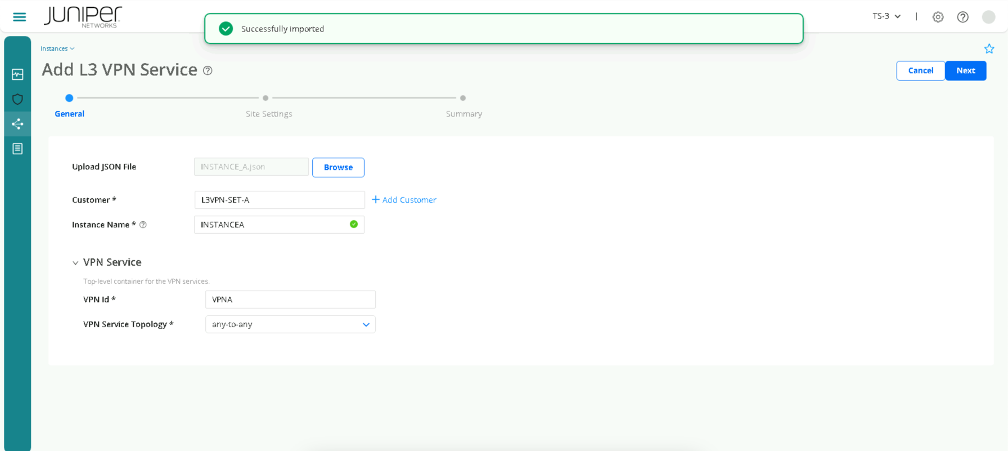
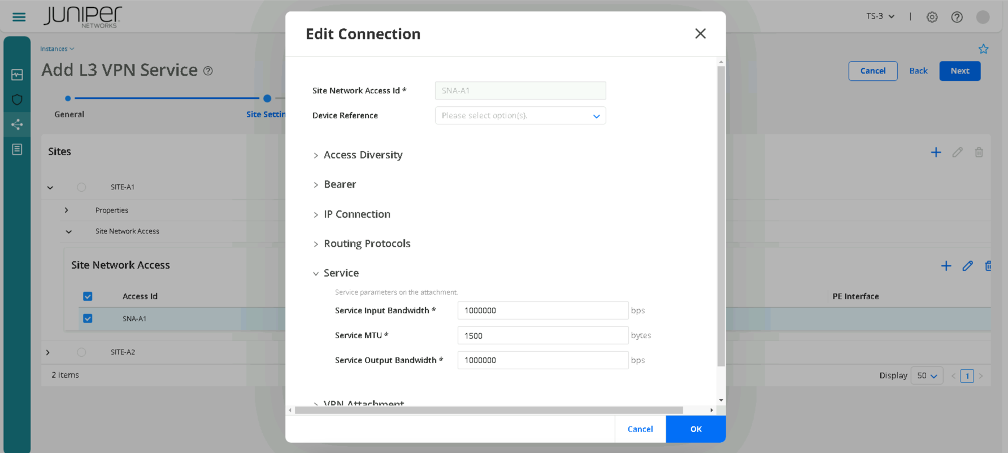
Click Next. You should see the site settings Page, please review the different parameters used, but DO NOT CHANGE THEM.
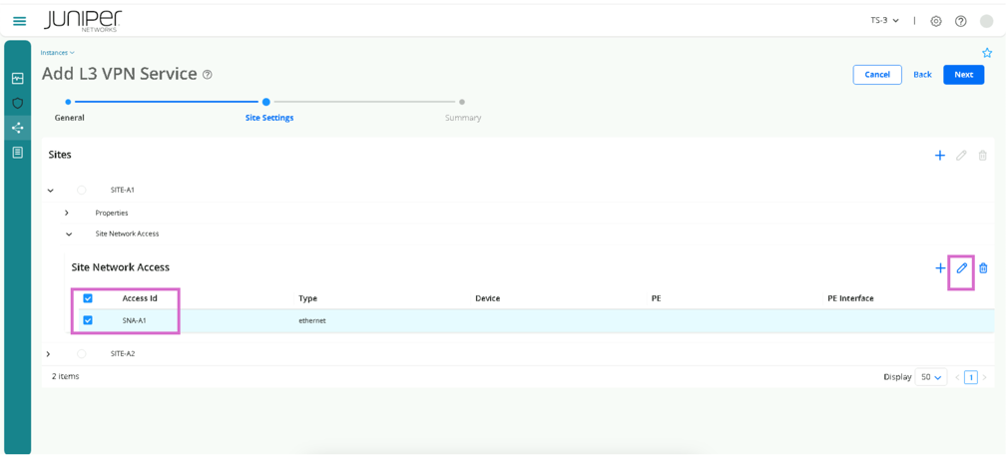
You can select the Site assigned to your Lab User and click on edit to view the parameters. Similarly, you can select SNA for your Lab User (under Site network access) and edit as well.
Click Next and you will see Summary Page.
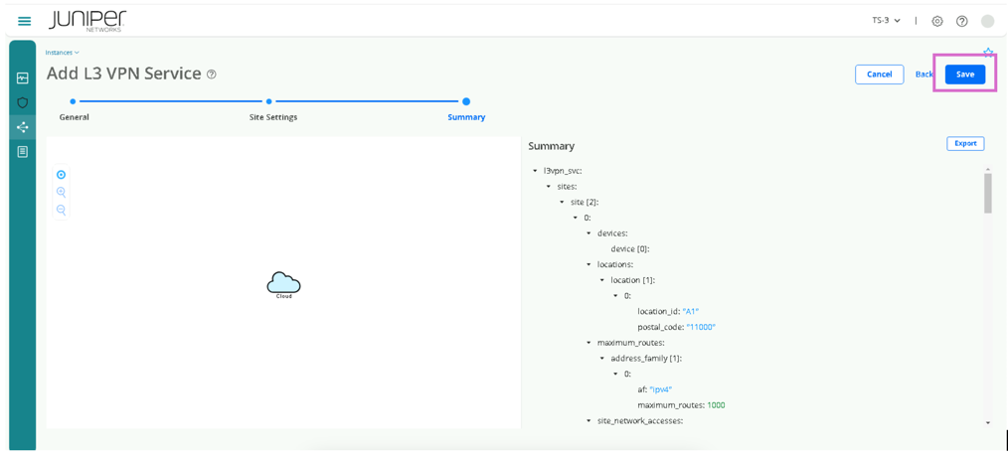
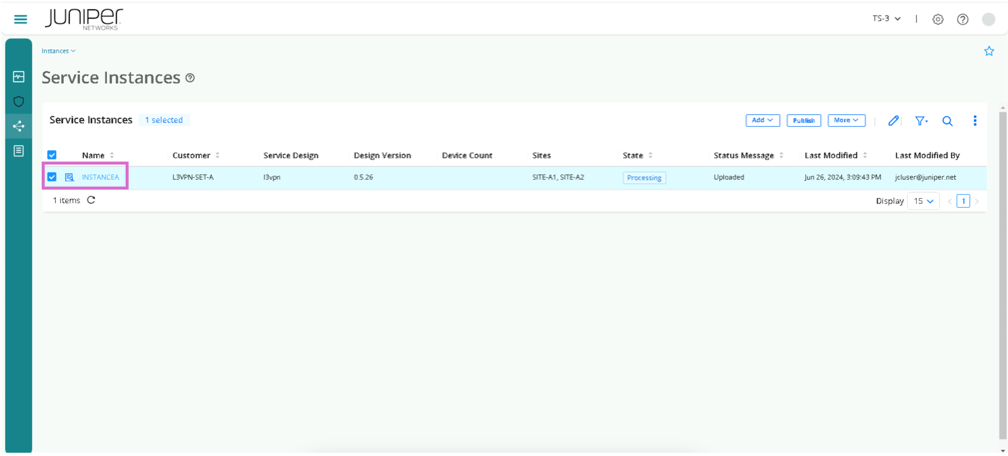
Click Save, then you should see Uploaded status message.
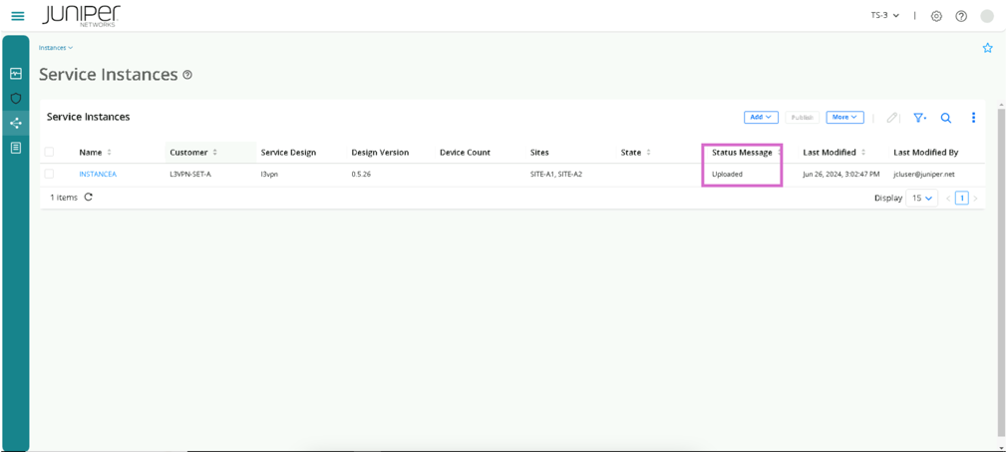
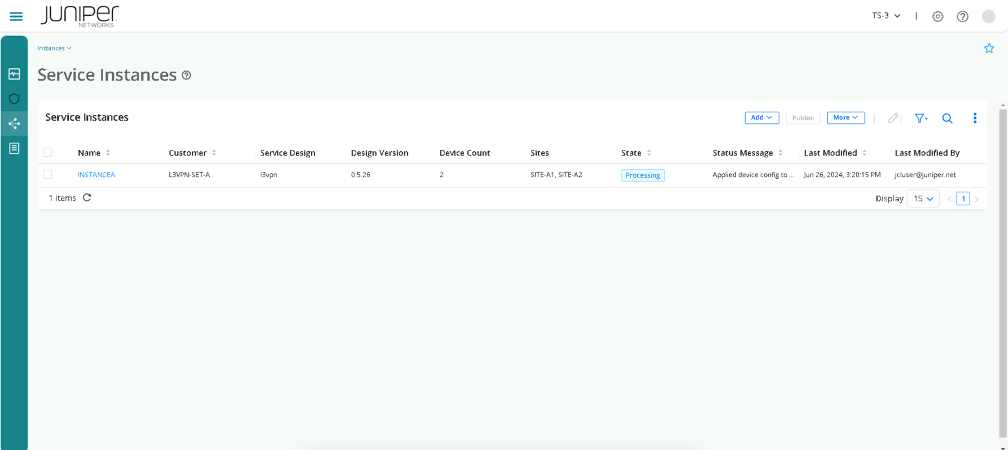
Select the Service Instance and Click Publish. Use refresh button to see updates status message. Starting with Status Message -> Processing.
Note: Note Provision will take a few minutes. so, let’s move to next Task meanwhile.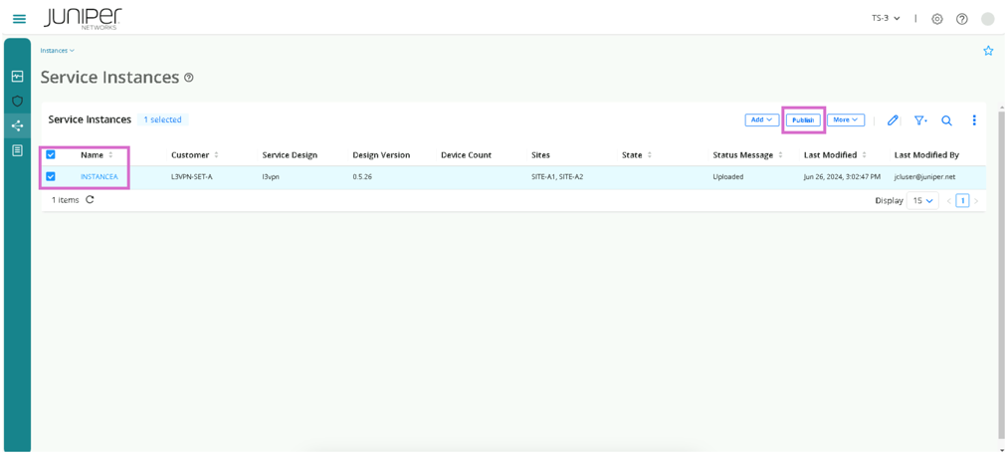
Observe Instance Related Data
Click on the Instance related to your Lab User Set
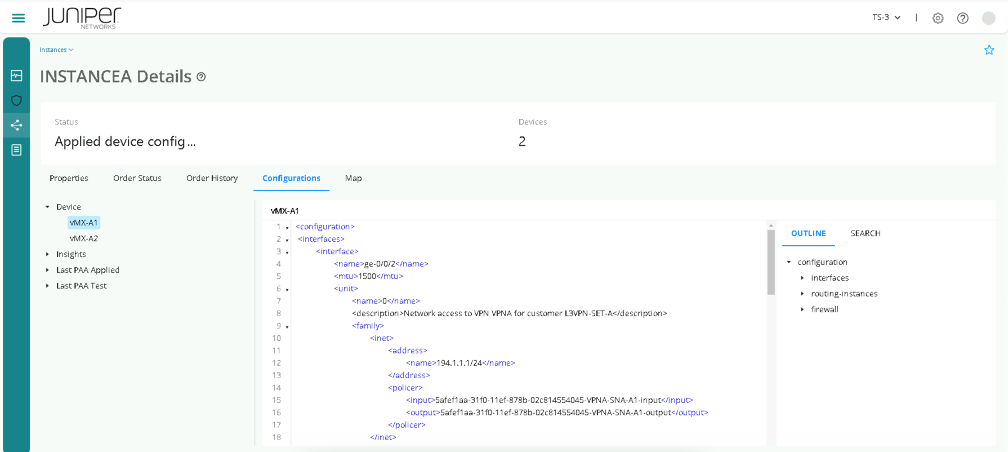
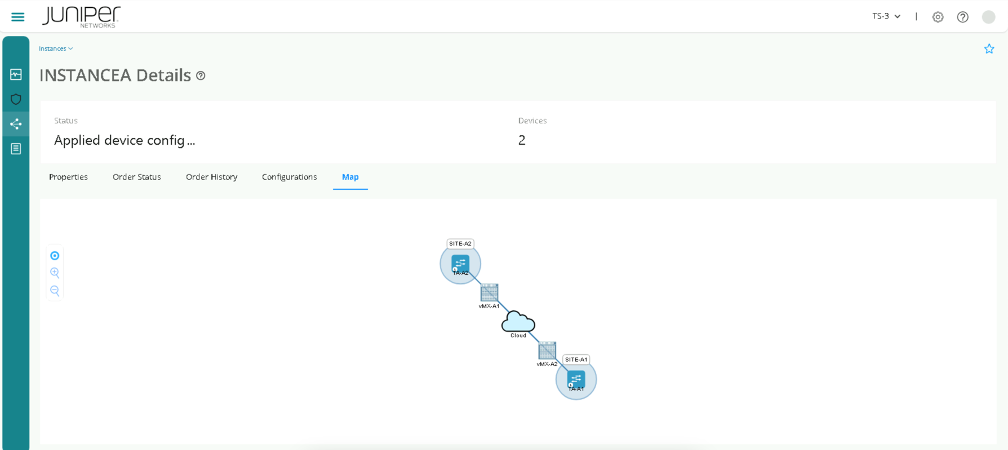
You will see multiple menus like Properties, Configurations , Map. click on each of these and review these.
Note: Please note that the map will show only if the status of L3VPN provision is successful.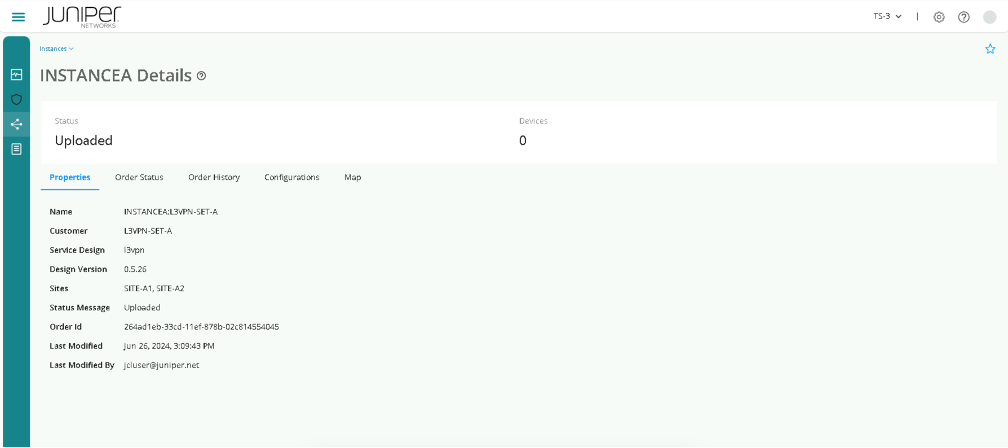
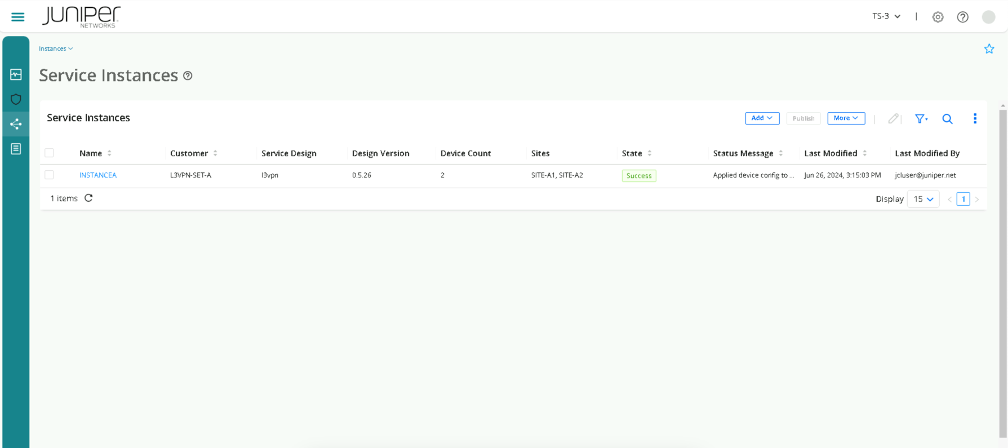
Navigate to Orchestration > Instances, and check if State is Success as below.
On seeing a Success Message, click on your instance, then on Map.
De-Provision L3VPN
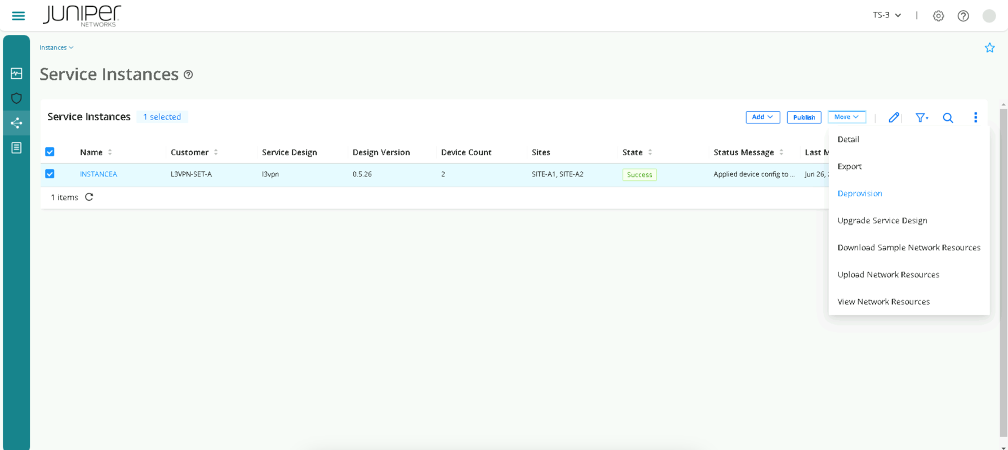
Navigate to Orchestration > Instances, select the instance, then More > deprovision.
Wait for a few minutes for deprovisioning to complete, you will see Processing status message again.
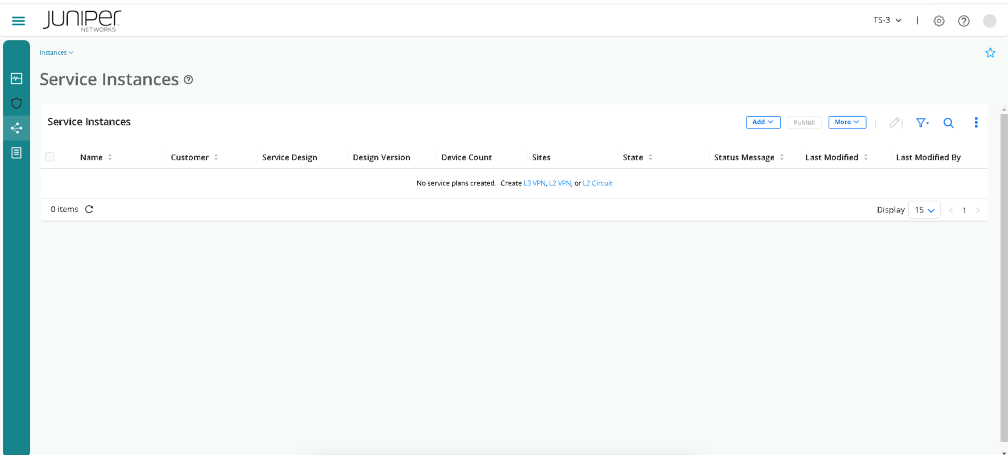
You should see the instance is gone from this page.
Track Orchestration Workflow
To view the workflow, navigate to Orchestration > Workflows.
Select the create-l3vpn-0_x_xx workflow ID.
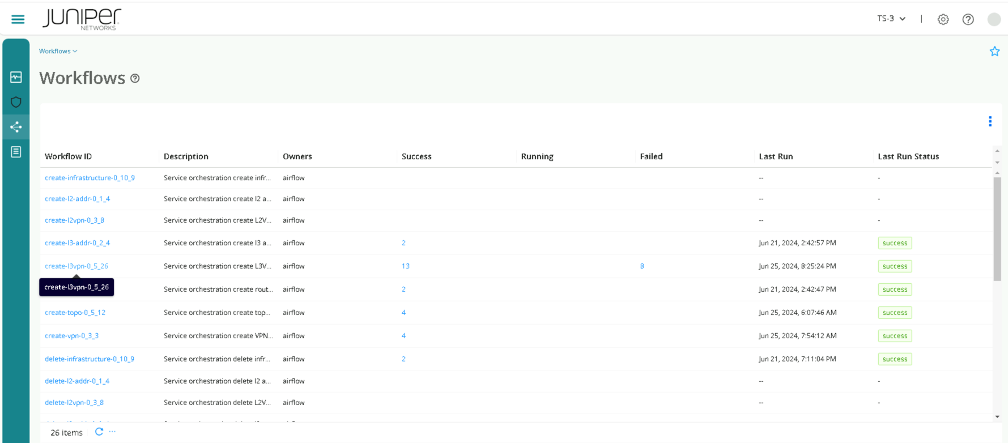
Click on Graph and explore the workflows steps followed by Paragon.
